So you've decided to be brave and venture into the world of back carries. The only problem? Your little one is going for the gold medal in Olympic seat popping! Seriously, kid? Can you just not straighten your legs, not pull my hair out, not spit up on my hair, and be patient while I tie us up in a knot? Please? At least, that's what I used to think whenever I tried to get my youngest up on my back. We've since learned a few tricks and come to an understanding on how to get him up there. So read on, and I'll give you a few tips (thanks to the awesome mamas who chimed in and helped me out). These tips can be used for woven wraps, mei tais, and structured carriers. Some are obviously specific to woven wraps...
There are a variety of ways to get Baby up on your back. I'll just name a few, and then I've got some pictures of a couple that I'll post below.
1) Santa Toss: wrap your wrap around baby's shoulders, grab the rails in front of him, and toss him up and over your shoulder just like you see all the pictures of Jolly Old St. Nick doing with toys.
2) Hip Scoot: Put baby on your hip, duck him under your arm, and scoot him around...it helps if you lean towards the opposite side from baby as you scoot him around. This works especially well for toddlers who may be a little too heavy to Santa.
3) Superman: Again, wrap your wrap around baby's shoulders. Grab his arms and the wrap, and swing him up and over your shoulder so he settles on your back.
The most important thing to remember about back carries (or any carry for that matter): NEVER take your hand off baby! Always keep one hand on baby until you are done wrapping/tying/fastening. That way baby doesn't fall. I also recommend that you start out practicing with a spotter, or over a bed or other soft surface...just in case!
Here's some pictures of the Superman used to get my 9 month old up for a Double Hammock with Saltwater Variation:
Lay your wrap out flat and find the middle marker.

Place baby on the wrap with the middle marker right between his shoulder blades.

Grab the bottom edge of your wrap, and pull it up between his legs.

Tuck it in the waistband of his pants, making sure you're spreading it all the way knee to knee.

Sit baby up, and pull the top rail up and over his shoulders.

Do a funky twist (sorry, no idea how to explain that in words, but hopefully you'll get it from the pictures) and grab both baby's arms and the wrap at the same time.

Pick baby up and swing him over your shoulder...

and on to your back. Notice how the wrap stayed in place, creating the seat.
When you start pulling stuff tight, pull it snug but don't overtighten. You'll pop the seat every time.

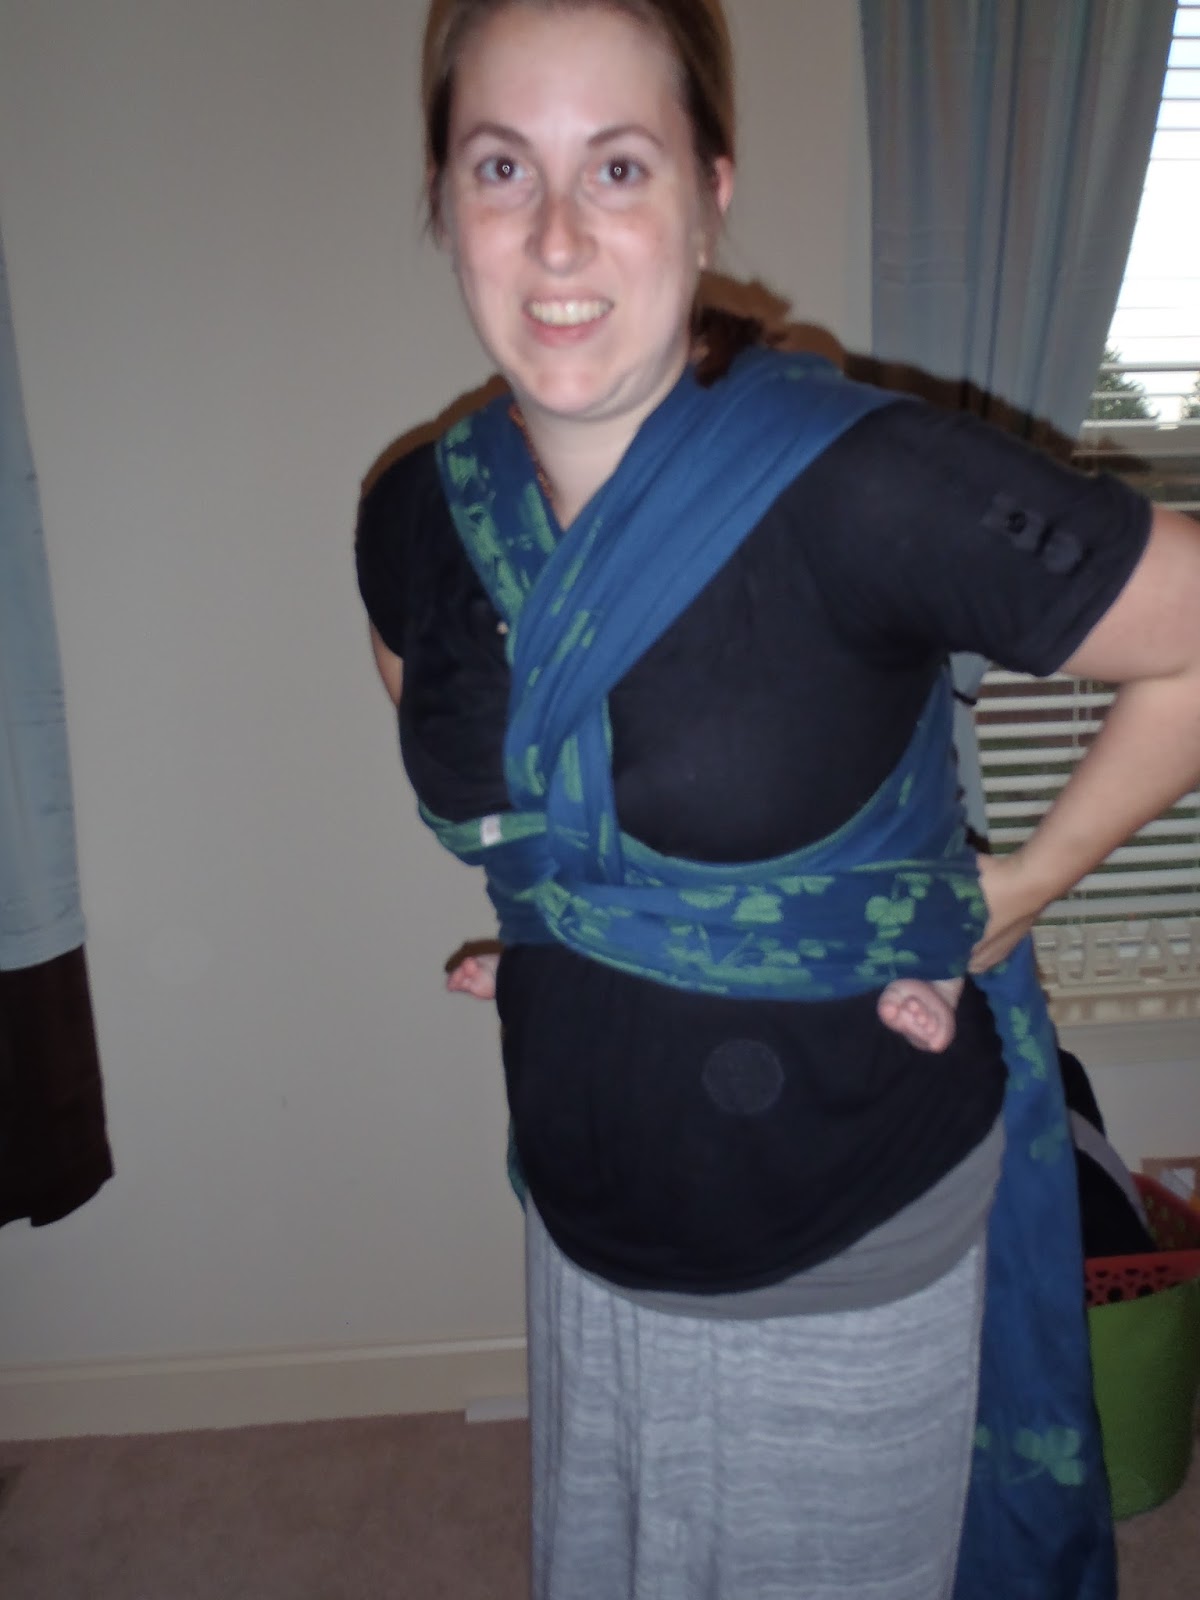
And for those of you who are not at home with a nice clean floor to spread your wrap out on:
Find your middle marker.

Put it in the center of your chest, and wrap around to the center of your back.

Hang on to that spot

This is where you'll start your wrap on baby's shoulders.

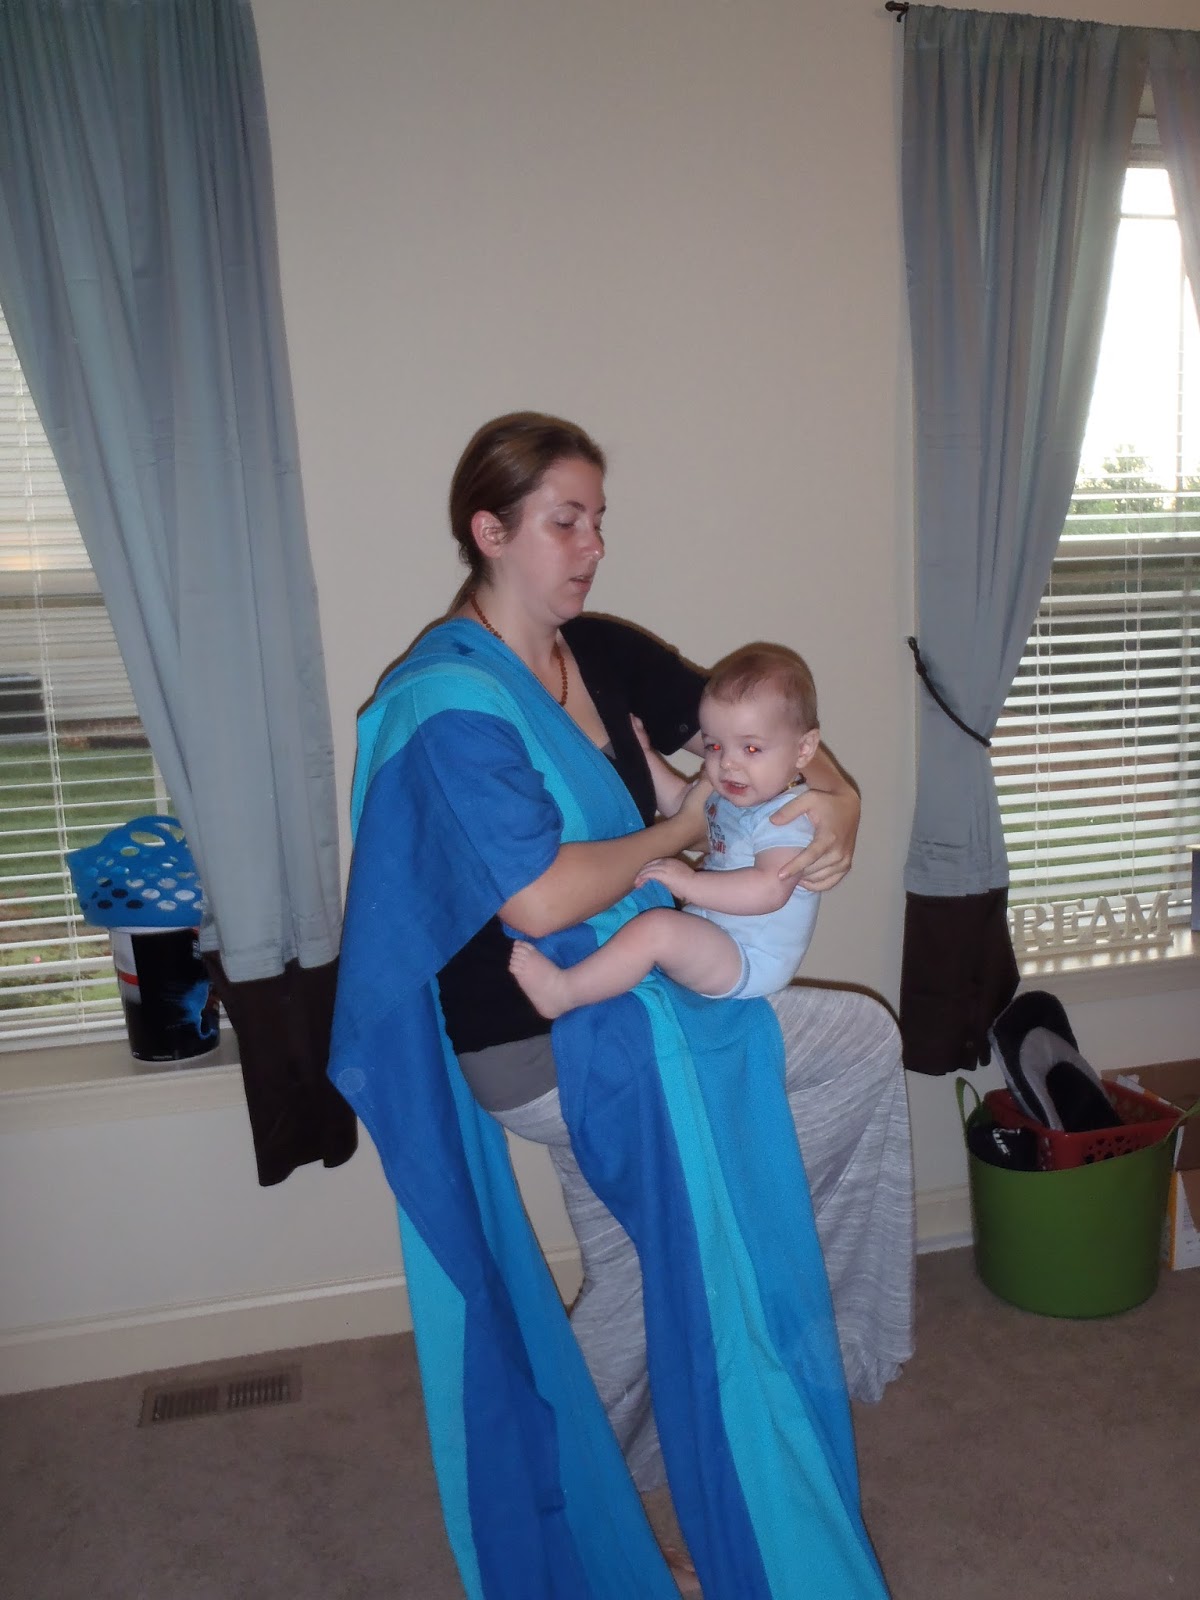
Up we go. I used the same technique as above, but this time the wrap is not tucked in his pants.

Holding on, adjust your wrap so it's going knee to knee.

Reach up between baby's legs and grab your bottom rail.

Spreading it knee to knee, pull out slightly away from you...

and tuck it under his bum so that you have fabric sandwiched between your bodies.

This is where you pull it snug, but not super tight.

Pass your tail under your arm, and across your chest, going over the second rail.
The middle marker should now be in the center of your chest,
and your second rail is secured between your knees to maintain tension.

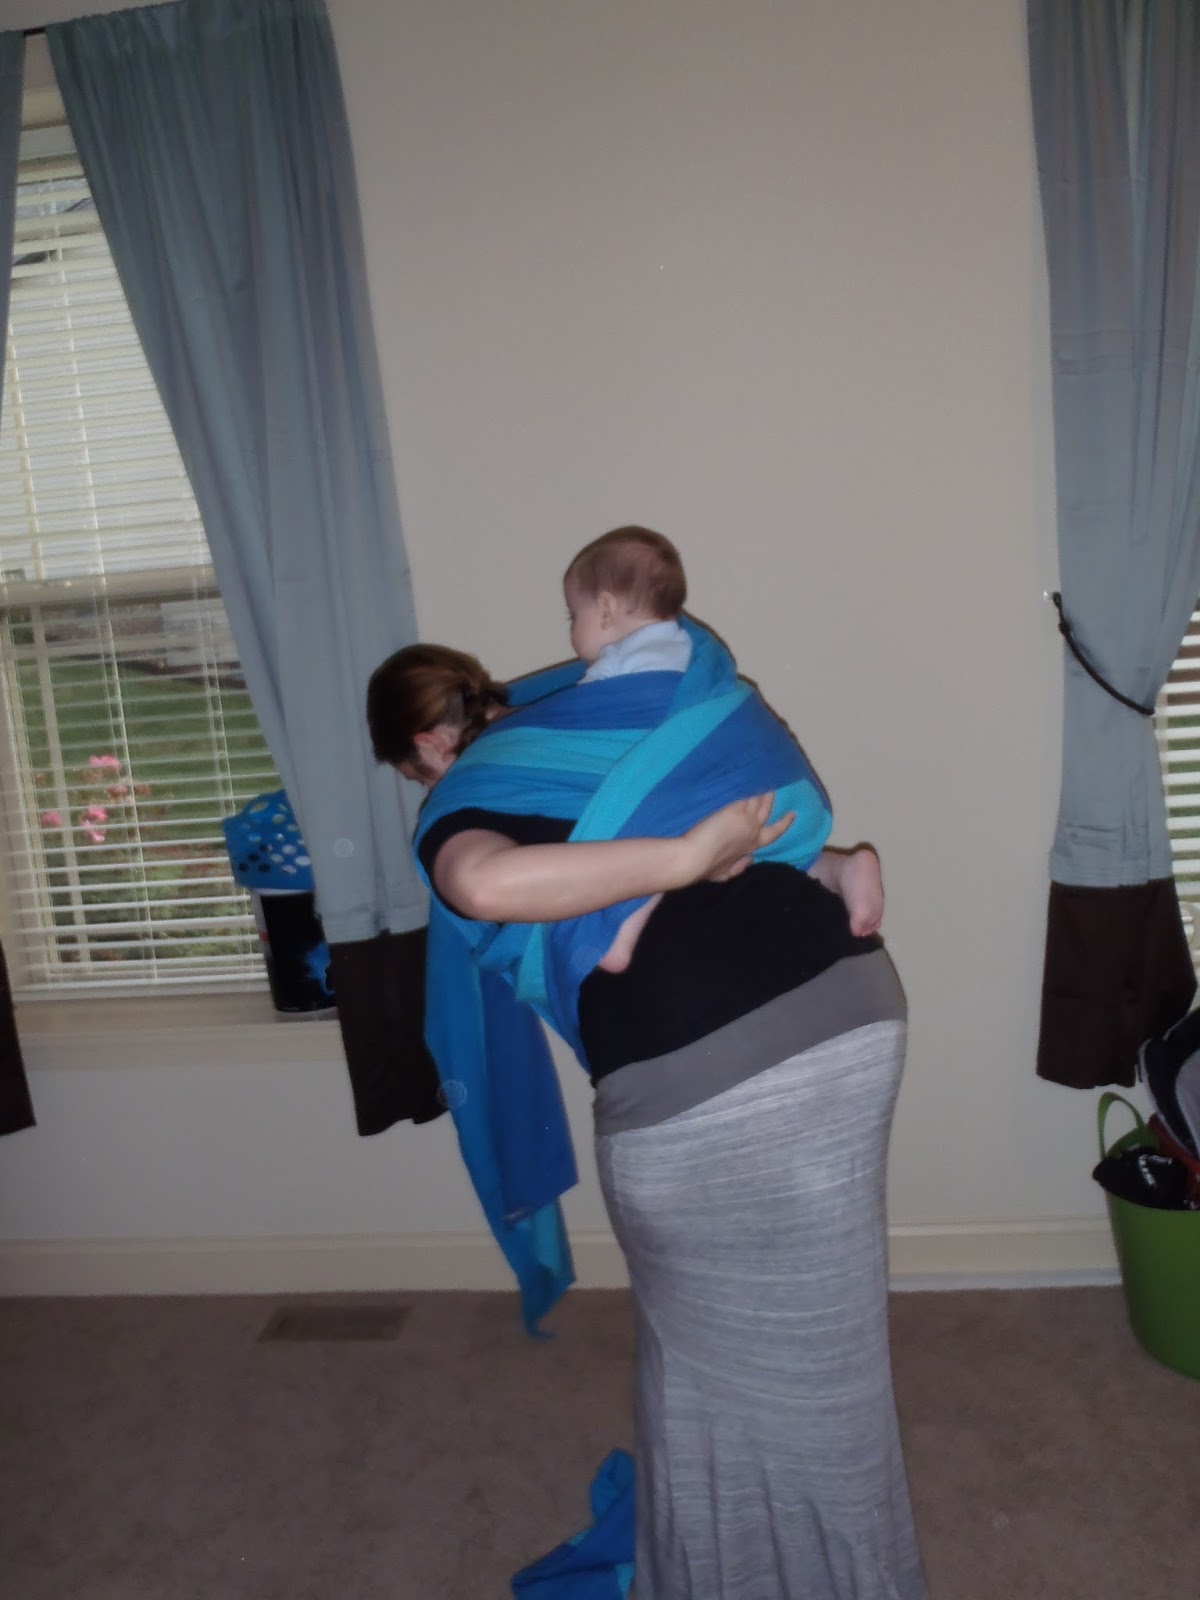
Pull the first rail under your other arm, and kind of spread it out.

Go up and over your shoulder, making sure that it is nice and high on baby too.
See how it goes all the way up to his neck and over his shoulder?

Now, make a second seat, same way as the first. Make sure it's going knee to knee.

First rail goes over your shoulder, and pull it snug.

Double check that baby is not pulling your hair. ;)

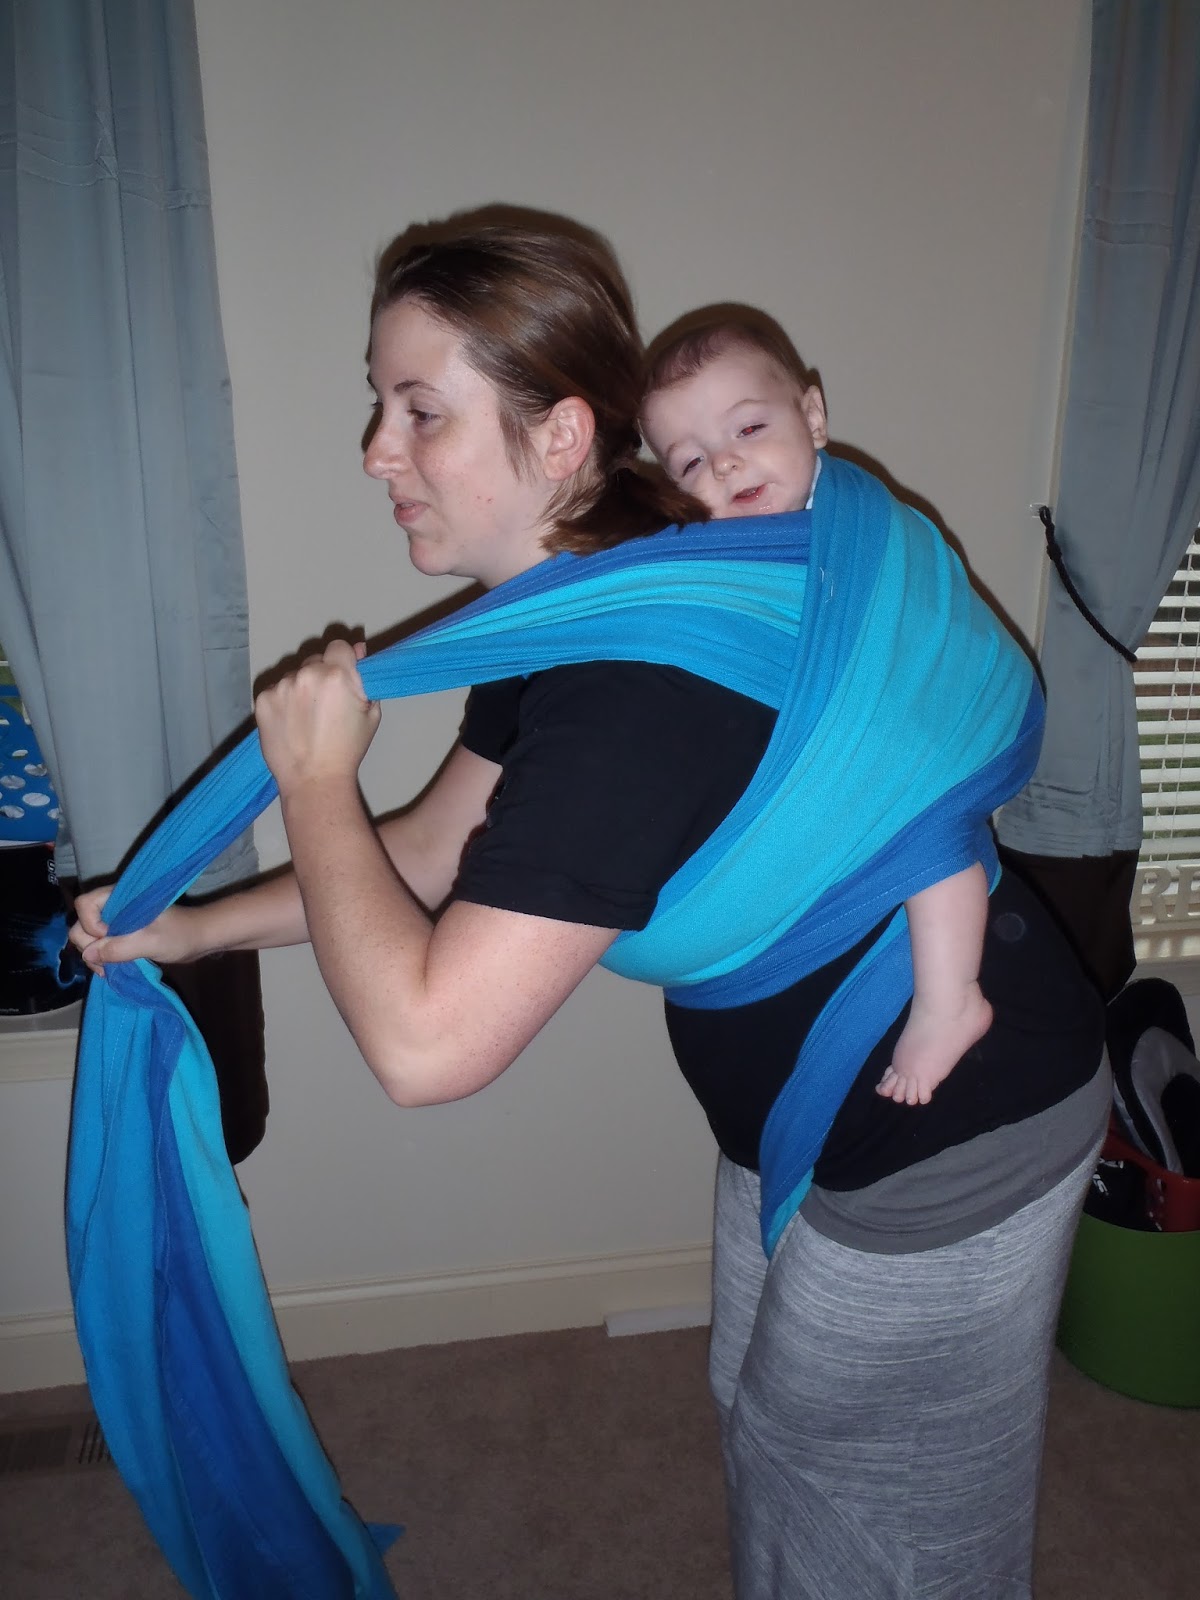
Reach under the second tail, and grab the first tail.

Pull it all the way through.

Now, you're going to crisscross your tails in the center of your chest.

And pull your tails back to make your wiggle proof pass.
Here I'm doing both tails at one time; you can do it one at a time,
just secure the tail you're not working with between your knees.

Pull your tails around in front and get ready to knot
(pardon the facial expression...we work with what we've got!).

Still having trouble your seat? Okay, here's a guaranteed win. You'll probably need at least a 6 to do this variation, although I personally prefer a 7. This is the Double Hammock Unpoppable Seat Variation.
Find your middle marker, and put it on your shoulder. Spread your wrap out in front...

and in back.

Up goes baby. You can balance using your knee to support baby while you get your hands in position.
Super baby!

And he's up. Notice that the wrap is now across my back and between me and baby.

Grab the rails between baby's legs.

And pull your tail up and over baby's shoulder.

Make sure you've got it knee to knee. (Again, notice I've got my hand on baby's bum to support him.)

Pull the tail over your shoulder and secure between your knees.

Now you've got tails over each shoulder.

Take your second tail, and pass it under your arm

Spread it out to make a nice chest pass.

And thread it under your second tail. Again, middle marker should be about in the center of your chest.

Pull it all the way through.
(Okay, so this is an obvious step; I just loved the picture because it looks so cool!)

Get your chest pass nice and tight. Start at the top rail, pull it tight.
Then do the center, and then the bottom. With this carry, you don't have to worry about popping the seat...but still don't overtighten so you don't cut off circulation to baby's legs.

Pass your rail under your arm and let it spread out.

Pull it up nice and high (baby is not going anywhere at this point as long as you
keep tension on your second tail, which is still between your legs.)

Pull your tail up and over baby
Check your seat. Spread this tail out knee to knee as well.

And the famous "L" pull. The tail you just wrapped around goes out to the side. The second tail goes straight up. Give a little bounce, and pull. This helps ensure your chest pass is nice and tight.

Tighten.

Both tails are now over your shoulders.

Pass one tail at a time behind you

going over baby's first leg,

and under the second leg.

Grab your second tail and pull tight one more time.
Make your wiggle proof pass...over the first leg,

under the second leg.

And knot it off. This is a size 7 wrap, so I have plenty of tail to tie with. If you use a 6, you'll have less tail.

Double check baby's face is not covered.

And here, I'm pointing out that his knee is higher than his bum, and also checking that my passes aren't too tight. His leg should be able to move and shouldn't be stuck in an uncomfortable position.

Photo credit: Jessica Mitchell.
No comments:
Post a Comment