Thursday, June 27, 2013

TIO: Double Hammock (Two Shoulder Variations) Tutorial

Right, so this is one of my favorite back carries. Well, it is now that I've figured it out. I used to hate a Double Hammock carry, and could not manage it without getting all knotted up in my wrap and frustrating both me and Baby. All I can say is give it a go. It's really quite comfortable.

Double Hammock is a double pass carry that can be made a wiggle proof carry, and has many variations for tying off. You can do ruck straps, tie it with a ring, do a knotless tie with two rings, tie Tibetan, candy cane chest belt...use your imagination. The video I'm going to post shows both the ruck strap variation and using a single sling ring to tie off. I'll post videos later for some of the other variations. You can do this carry in a wrap as short as a 3, but most people seem to prefer a 6. This video shows it done with a Natibaby size 6 Tanami. Remember, the key to this carry is the L pull. It gets everything nice and tight. Also, make sure that you are tightening your chest pass as you go...start at the top, pull the middle, then pull the bottom. Do this before you make your second pass, then do your L pull, and you should be nice and tight. I've heard people say when baby grunts during the L pull, it's right where you want it. :)

So check out the video, give it a go (or two...or five), and don't be afraid to post pictures to my Facebook page: www.facebook.com/babywearingmum Also, if you've got specific questions or are struggling with something, feel free to send us a message. Happy babywearing!

Double Hammock

And for those who have difficulty loading the videos:

Right, so you'll start off with your middle marker.

You want to start this carry off center, so take your middle marker and put it in the center of your chest.


Now reach round to the center of your back and mark that spot on your wrap.


The mark from your back is where you'll be starting this carry.


Put your mark in between baby's shoulders...


And get baby up on your back however is easiest for you


Secure your top rails, and make your seat. Spread the fabric knee to knee,
and tuck it up under his bum so that's secured between your bodies.


You'll want your shorter rail to be going over your shoulder,
and the longer rail to go under the other. Secure the short rail between your knees.


Bring the long tail round in front, and pass it under the short rail. Pull it tight.
Adjust top, middle, and bottom of your chest pass here so that you are starting off nice and tight.


Pull the long rail round the back and make your second pass. Pull it up nice and high.
Make a second seat, spreading that pass from knee to knee and tucking it up under baby's bum.


Now you have both ends coming over your shoulders, with everything nice and tight.


Take the short rail and pull it straight up, maintaining your tension.


Take the second tail, and pull it out to the side. Give it a good pull and a bounce.
Keep tightening (some people say when baby grunts, you know you're good).


Keep your tension. Secure one tail between your knees.
For a wiggle proof carry, take the second tail over baby's leg...


...under his bum, and under the second leg. Hold this tail between your knees and grab the other.


Again, go over the first leg with your tail and under the second leg.


Secure with a double knot. That's a ruckstrap variation.


If you've picky shoulders like me, you can try a sling ring chest style.
Grab an extra sling ring. (I use a size large.)


Thread your tail through the ring before you do your wiggle proof passes. Pull it tight until the ring is in a comfortable position for you. I've found that it lays flatter if I thread the first tail through going up and the second tail going down. (If that doesn't make sense, PM me on Facebook, and I'll try to help.)


Again, secure each tail and make your wiggle proof passes.


Check your seat.


And knot it off at your waist.


Monday, June 24, 2013

Try It Out (TIO): Loop Hip Carry Tutorial

So this is the second in our series of tutorial videos. This time we're doing a hip carry. Hip carries are good for when Baby wants to see Mum's face, but Mum needs to get things done. Back carries are excellent for doing work round the house, but the one downside is that Baby can't see you. Babies love to see faces, so sometimes they need to be in front. But if you're like me, a 30" tall baby can get in your way if you're doing a front carry. So I use hip carries alot, especially if we are doing a lot of in and out of the sling running errands. Hip carries can usually be pre-tied before leaving the house, and Baby can be popped in and out with little to no adjustments needed.

Have fun trying this one out, and as always, feel free to post pictures to our Facebook page at www.facebook.com/babywearingmum

Loop Hip Carry

And for those with issues loading videos:

Start out by finding your middle marker.

Put the middle marker on your shoulder (either one will work, I prefer to have Baby on my left hip with this carry, so I put the middle marker on my right shoulder).

Bring the tail around behind your back, making sure it's nice and spread out.


Bring that tail across your chest up to your opposite shoulder.


Next, flip the second tail up....


And over your shoulder.


Adjust the fabric so it's not twisted.


Pull the flipped tail around behind your back, again, spreading it out as you go.


Secure the tails in a half knot and make a pouch for baby.


Grab your baby.


Insert baby's legs into the pouch (just like with a ring sling)


Pull the bottom rail down and then up in between you and baby, making sure the spread the fabric from knee to knee so that baby is properly supported.


Pull the top rail up. It needs to be all the way to baby's neck if they are going to be arms in, or to their armpits if they prefer to be arms out. (Only do arms out once baby has good head control.)


Pull your sling tight. Start with the top rail, then the middle, then the bottom rail.


Secure under baby's bum with a double knot.


Spread the fabric out across your shoulder for comfort.


And across your back.


All done!


Friday, June 21, 2013

Simple Hip Carry Tutorial

Here we go, our first tutorial. We are doing a Simple Hip Carry with a woven wrap. This one was requested by a friend to be done with a toddler, but he was quite uncooperative, so his 7 month old brother got elected to go "uppies." This carry can be done with a toddler as well.

In the video, I'm using a size 6 woven wrap, but I have used a wrap as short as a 2 before. If you use a shorter wrap, you may not be able to tie the tails behind the baby's back, which is ok; the tails just give Baby a little more supportive if they're still a little wobbly. It's a really easy carry, especially good if you're just starting out because there are not a lot of passes, and you can actually tie it before you leave the house if you're going to be out and about.

Have fun trying this out! Feel free to post your pictures on our Facebook page at www.facebook.com/babywearingmum

Thanks!


Benefits of Babywearing

Okay, so I've seen people out and about wearing their babies. Then I see you have this blog about babywearing. What's so great about it anyway?

Well...


  • Happy Baby = Less Crying. A study showed that babywearing for 3 or more hours per day reduced infant crying by 43 percent overall, and 54 percent during evening hours. (1) Hello? Who wouldn't be excited about less crying!
  • Babywearing helps baby maintain a natural C-shaped spine. Babies don't have the same S-shaped spine that adults have. It develops over time. A baby's spine is actually C-shaped. So by wearing your baby, you're keeping their spine in a C-shape. The key to this, however, is that baby needs to be facing you, not facing out. This keeps the spine in the right position, and allows baby to hide her face if external stimuli gets to be too much.
  • Helps baby learn to regulate his breathing and heart rate. With baby so close to mum or dad, he is able to sense your breathing and heart rate, helping him learn to regulate his own.
  • Helps baby learn how to respond to outside stimulation. Baby looks at mom's face, and bases her response to an unknown interaction on how mom reacts.
  • Bonding tool. Baby has been with mom for at least 9 months, 24/7. By wearing baby, dad or grandma or other caregivers have the opportunity to develop their own special bond with baby. Baby gets to learn the sound of dad's voice, grandma's facial expressions, and that he is safe with other people.
  • It's convenient. I mean, seriously. It is. Babywearing allows you to keep your baby close (where baby prefers to be anyway) and still go about your day. You have your hands free to interact with your other children, get some laundry folded or dinner cooked. Oh, and did I mention that you don't have to lug around an extra 15-20 lbs of carseat?
  • Ok, this one is selfish. Babywearing helps mom stay in shape! Think about it. You're adding an extra (insert however much your baby weighs) pounds to your daily activities. You're going for a walk? You're going to burn more calories while wearing baby.
  • Security. This goes several ways. You're in a crowded place like the zoo or the aquarium? You don't have to worry about where your baby is. Baby overtired or overstimulated? Being in a sling can give her a place to retreat when the outside world becomes too much to handle. It's also a handy place for a nap.
  • Economical. Yes, I hear you. "Those slings are expensive!" Just like strollers, there are slings at all different price points. But think of the savings. Instead of a stroller and a bouncy seat and a johnny jump up and all the other baby accessories that you only use for a few weeks or months because babies grow so quickly, you purchase one sling that will last you from newborn well into toddlerhood. Most slings are capable of carrying children up to 35-40 pounds. And you don't have to have an expensive carrier! One of my favorite carriers is a mei tai made by Infantino that cost about $30 at Target. You can also make your own (more on sling options, DIY, and where to buy later).
  • Babywearing if FUN! Who doesn't love cuddling a baby? And as your baby grows, being close to you in a sling allows you to interact easily and help baby learn about his world. Wear baby on a walk, and narrate what you're seeing as you go along.
These are just a few of the many benefits to babywearing. I'm sure other mamas who wear their children could come up with several more. The best benefit to babywearing is what you make it. However you choose to wear your child, the important thing is that you care enough to wear them!


(1) Hunziker UA, Garr RG. (1986) Increased carrying reduces infant crying: A random-ized controlled trial. Pediatrics 77:641-648

Thursday, June 20, 2013

The Most Important Post Ever!

All right, mamas, I talked about woven wrap sizes. Perhaps I should have started with this post instead! The most important topic with regards to Babywearing: Safety and Positioning. Above all, you want your baby to be safe!

With any carrier, I don't care whether you choose a soft structured carrier such as an Ergo, a woven wrap such as a Natibaby, an Asian-inspired carrier such as a mei tai, or a ring sling such as Maya Wrap, there are several things you need to make sure of.

  1. Your baby should be able to breathe! (Duh, right?) Basically, this means keep an eye on your baby's chin positioning. Never let the baby be in a chin-to-chest position. This can restrict their air flow. Also, don't let your baby's face be covered by fabric. This can sometimes be an issue, especially with woven wraps or ring slings. If baby falls asleep, make sure you can see their face. Always check on your baby frequently while you're wearing. Newborns especially do not have the neck muscle strength required to turn their head if they get it covered with fabric.
  2. Make sure you're not doing any activity that causes excessive bouncing or shaking of your baby.
  3. As much as you don't want to wake up that sleeping angel when it's time to get in the car, don't ride in the car with your baby in a carrier. Baby should always be properly secured in carseat.
  4. Use a carrier/carry that is appropriate for your baby's age and developmental stage. Back carries especially should only be used with infants that are able to hold their heads up independently.
  5. Baby's legs should be in a "M" shape. In any carrier, your baby's knees should always be higher than his bum. Think about it. If you pick up a young baby, where do their legs naturally go? They draw their knees up to their chest, creating an "M" shape. Keeping your baby in this position will help with proper hip development. (See pictures below.)

As you can see, in both of these pictures (one in a soft structured carrier, one in a woven wrap) baby's knees are higher than his bum. (My toddler's knee could be a bit higher in the second picture, but this was a quick wrap job.)


Another thing to keep in mind about positioning, keep baby's head close enough to kiss while in a front or hip carry. Nice and high is best, because it's easier to keep an eye on baby's breathing.

Also, ALWAYS KEEP A HAND ON BABY WHEN WRAPPING OR UNWRAPPING! You never know when baby is going to wibble when you're prepared for a wobble, so keeping one hand on baby is just good practice. If you're practicing a new carry or just starting out with wearing your baby, I'd suggest standing over a bed or couch or having someone spot you. If you're really nervous, grab a stuffed animal and use that until you learn where your hands, arms, carrier, etc. are supposed to be.

Basically, use common sense, mamas!


Woven Wraps: Sizes and Base Size

All right, so you want to wear your baby and you think you'd like a woven wrap. Where do you start?

There are many different brands, different fabric blends...don't even get me started on colors and designs! But probably the most important question: what size do I need? These things don't come with dress sizes!

Here's a brief run down on sizes. Woven wraps come in sizes 1 to 8. Almost all wraps are measured using the same scale (measured in meters because most manufacturers are in Europe).

Size 1 - 2.2 m
Size 2 - 2.7 m
Size 3 - 3.2 m
Size 4 - 3.6 m
Size 5 - 4.2 m
Size 6 - 4.6 m
Size 7 - 5.2 m
Size 8 - 5.6 m

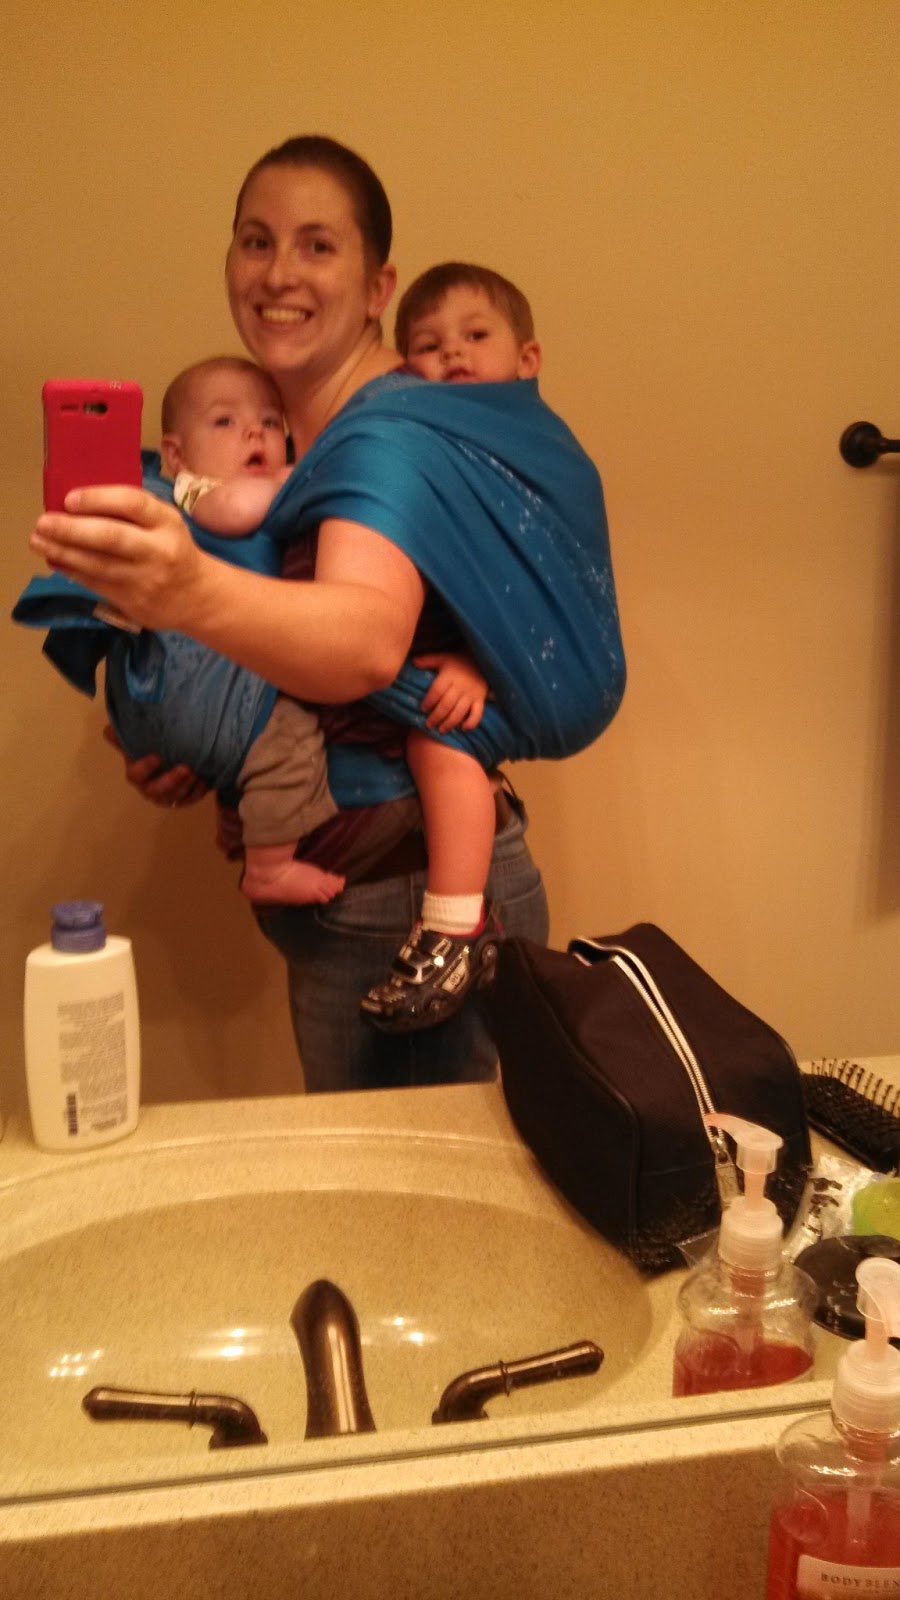
Okay, so that's great. You're telling me it's a lot of fabric. But what works for me? Well, the long and the short answer is: it depends on what you want to do. Do you want to carry your baby in front, on your hip, or on your back? I will be doing featured carries for each size/position in later posts, but for now we'll go with this answer. Most people start with a size 6. Unless you are really tall (or really well endowed) or really petite, you can do just about any carry with a size 6. I'm 5' 8", about 180 lbs (and dropping!), and I can do anything I want, including tandem carry my boys, in a size 6. My friend, who is much smaller than me, is completely lost in a 6, and prefers a size 4. I have wraps in multiple sizes and which one I grab depends on what I'm doing. If we are going to be doing a lot of in and out of the car, I reach for a shorter wrap like a 2 or a 3 and do a hip carry. If we're going to be walking about for long periods, I will grab either a 4, 5, or 6 to do a back carry with. Below are some pictures of wraps in different sizes:

Front Wrap Cross Carry
Size 6

Secure High Back Carry
Size 6

Tandem Carry
Size 7

Front Wrap Cross Carry
Size 4

Ruck Tied in Front
Size 4

Coolest Hip Carry
Size 5

Kangaroo Carry
Size 5

Secure High Back Carry
Size 5

Rebozo Hip Carry
Size 2

So, as you can see, there is a multitude of ways to wear your baby. And these pictures are just what I grabbed off my computer really quick. Some of these carries can be done in multiple size wraps, such as the secure high back carry, while others, such as the rebozo hip carry, are best done with a shorter wrap.

My best suggestion on what size wrap to get? Play with them! Find a babywearing group in your area, and play around, see what works for you. Borrow a wrap from a friend. The most important thing to remember about babywearing is not how you choose to do it, but that you choose to do it!